Are you tired of preparing the same old rubbery brisket that isn’t quite tender? That’s not a problem anymore! Forget all your old recipes, because with this one, you can achieve perfect brisket every time. Even at 200°F, normally considered too low for brisket to be done and tender, our method guarantees melt-in-your-mouth results. Every bite will have smokey and juicy perfection — follow these steps to learn how it’s done in no time.
Why Do We Cook A Brisket Low & Slow?
Cooking a brisket at low temperatures helps ensure that the fat content of the meat is rendered evenly throughout. This will result in juicy, tender slices with a delicious smokey flavor. Plus, cooking low and slow prevents your brisket from becoming dry and tough. It also gives you time to test for doneness instead of having to rush the process.
How Long Does It Take To Cook A Brisket?
The amount of time it takes to cook a brisket varies depending on the size, weight and type of meat you are using. However, most briskets take approximately 8-10 hours at 200°F before they are tender enough to eat.
How To Keep Your Brisket Tender At 200°F
1. Start by seasoning your brisket with salt, pepper and any other spices or seasonings of your choice. This will help give the meat plenty of flavor while it cooks.
2. Place the brisket in a preheated oven set to 200°F and cook for 4 hours before flipping over and cooking for another 4 hours.
3. After the 8 hours of cooking, wrap the brisket in aluminum foil and cook for an additional 2-4 hours until tender. This will help keep the moisture in and help make your brisket extra flavorful and juicy.
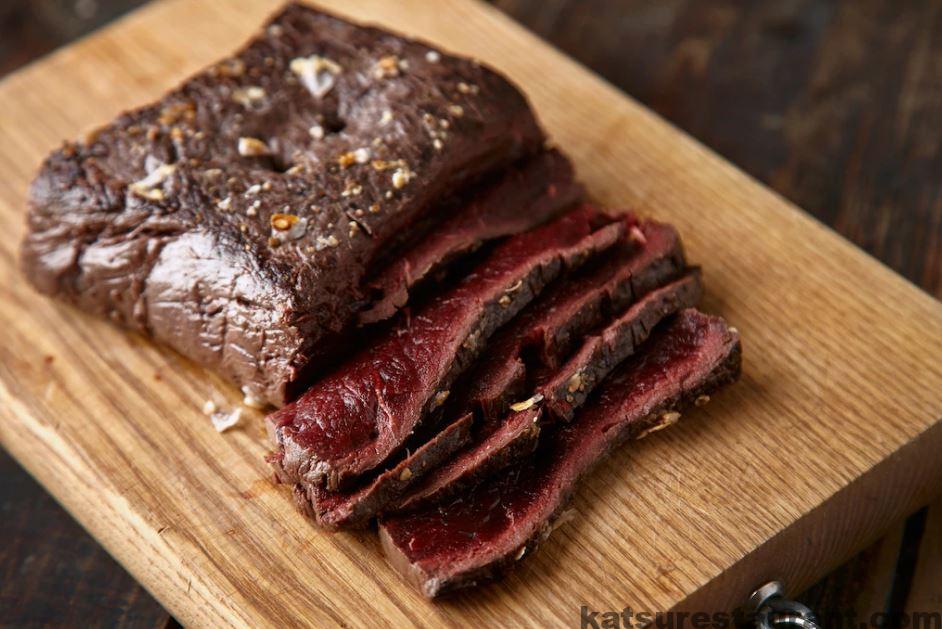
4. Once the brisket is cooked through, remove it from the oven and let it rest for 15 minutes before slicing and serving.
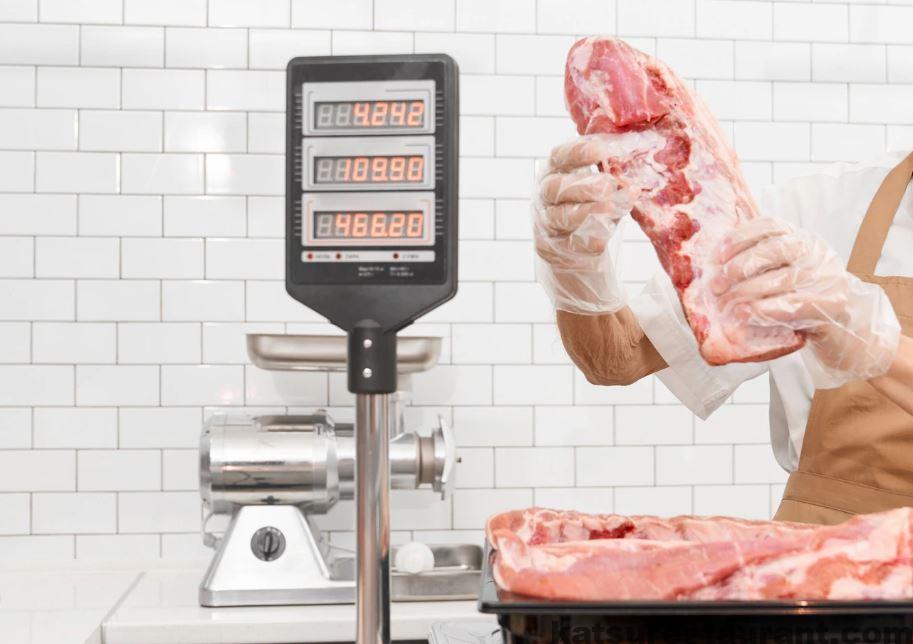
Picking The Right Cuts Of Meat
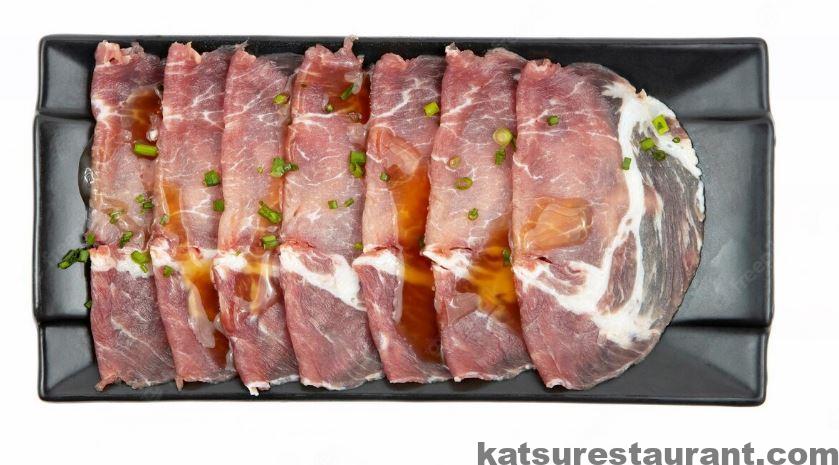
When it comes to cooking a brisket, you want to make sure you’re picking the right cut of meat. Look for a full packer brisket with plenty of fat marbling that runs through the entire piece. This will ensure your brisket stays juicy and flavorful as it cooks low and slow in the oven.
Trimming The Raw Brisket
Before you season and cook your brisket, you’ll want to trim it. This means removing any large pieces of fat that are more than 1/4-inch thick on the surface of the meat. This will help ensure even cooking throughout and prevent grease fires in your oven.
Brining The Brisket
Another technique you can use to make your brisket extra tender and juicy is brining. Brining helps keep the meat tender while it cooks in the oven, as well as adding an extra layer of flavor. All you need to do is submerge the brisket in a salt water solution for 8-24 hours before cooking.
A Correct Ratio Of Seasoning
When it comes to seasoning your brisket, you want to use the right ratio of salt and pepper. We recommend using 1 teaspoon of kosher salt per pound of meat and 1/2 teaspoon of black pepper per pound. This will give your brisket a good amount of flavor without overpowering it.
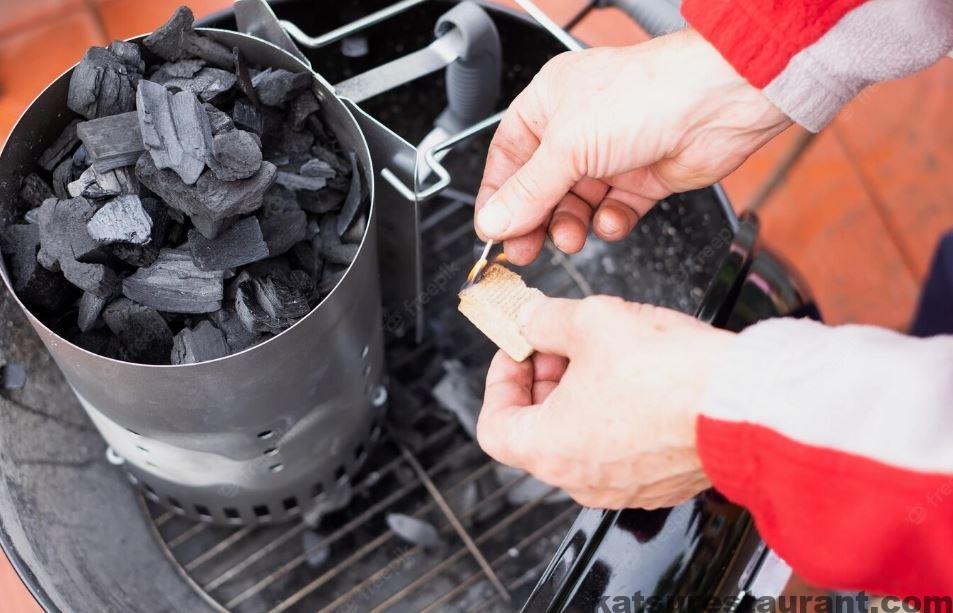
What Kind Of Grill Are You Using?
If you’re cooking a brisket on the grill, you want to make sure you’re using the right type of heat. We recommend using indirect heat and setting your grill up for “low & slow” cooking. This will help ensure even cooking and prevent flare-ups from happening.
Putting The Fat Cap Down On The Grill
When cooking brisket on the grill, you want to make sure you’re putting the fat cap down. This will create a barrier between the direct heat of the coals and your meat, helping it cook evenly without burning or drying out.
Utilizing A Meat Probe
When cooking your brisket in the oven, using a meat probe is essential. This will help you monitor the internal temperature of the meat and ensure that it’s cooked to perfection. You want to aim for an internal temperature of 195°F before removing it from the oven.
Spraying The Brisket During The Cooking Process
Another trick you can use to keep your brisket from drying out is to spray it with a mixture of apple cider vinegar and water every hour or so. This will help keep the meat moist throughout the cooking process and give it an extra layer of flavor.
Giving The Brisket Enough Smoking Time
If you’re cooking your brisket on a smoker, you want to make sure it gets enough smoke time. We recommend smoking the brisket for at least 4-6 hours before wrapping it in aluminum foil and finishing it off in the oven. This will give the meat plenty of time to absorb all that smoky flavor.
Wrapping The Brisket
Once your brisket has reached the desired internal temperature, it’s time to wrap it in aluminum foil. This will help keep all those flavorful juices from evaporating and ensure that your brisket is extra juicy and tender.
Resting The Brisket For The Correct Time
Once you’ve finished cooking your brisket, it’s essential that you let it rest for the correct amount of time. We recommend letting the brisket rest for at least 15 minutes before slicing and serving. This will help redistribute all those flavorful juices throughout the meat and make sure each bite is extra tender and juicy.
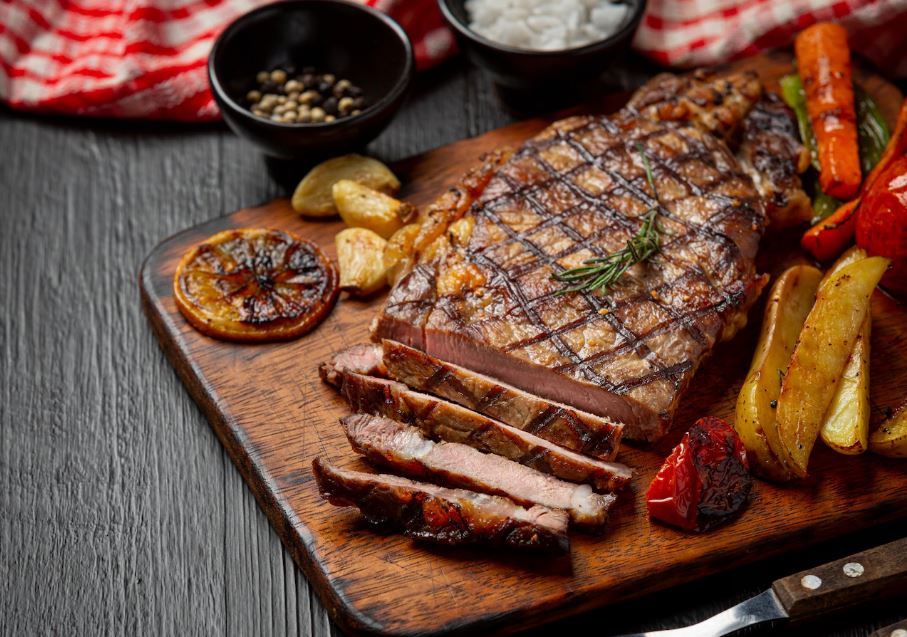
Following these tips will help you create the perfect brisket every time. You’ll get juicy, tender slices of beef that are bursting with flavor. So don’t be afraid to give this classic cut of meat a try – it’s sure to be a hit!